As projects come and go, so too will your group members. Undoubtedly, you'll need to add and remove members over the life of the group; you might even need to add or remove group owners.
Any member of a public group can add others to the group, but only the group owner can remove them. By default, the group owner is the person who created the group but others can be assigned this role as well.
Applies to This article applies groups in Outlook 2016. If you're using groups in Outlook on the web, see Add a member to an existing group in Office 365.
- On the ribbon in Outlook 2016, type the group name in the Search People box, and then select the group.
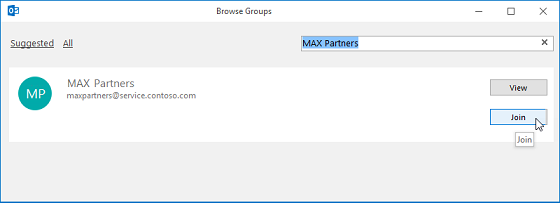
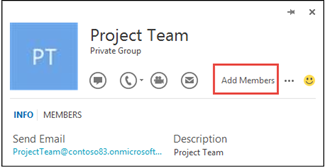
- Select Add Members.
- In the Add People box, search for people within your organization either by their full name or email address, and then select the names to add.
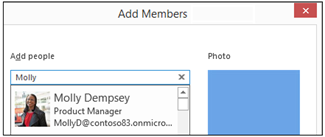 TIP: If you want to add multiple people at the same time, add the names or email addresses, separated by a semicolon.
 - Click OK.
Remove a member from a group
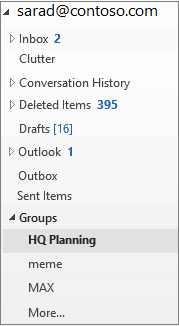
- Under Groups in the left nav, select your group.
- On the ribbon, select Edit Group.

- In the Edit group box, point to the name of a member you want to remove, and click the X.
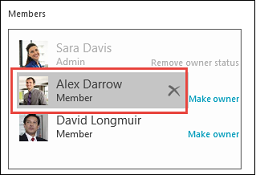 WARNING: When using a touch screen, if you tap the name of a group member, the entry is deleted and no prompt for confirmation is displayed.
No comments:
Post a Comment